Advent Pro Theme Documentation
Introduction
Thank you for purchasing Advent Pro. Before you get started, please be sure to always check out these documentation files. We outline all kinds of good information, and provide you with all the details you need know to use Advent Pro Theme.
If you are unable to find your answer here in the documentation, please contact us on our Support desk.
What is included in the price?
- Advent Pro WordPress Theme
- Child Theme
- 1 Year Free Updates
- Theme Documentation
- Premium Support - To our support desk.
Thanks!
FasterThemes Team
Theme Installation via WordPress
After the purchase you will be able to download the theme .zip file.
When done, you should see adventpro.zip (zip file name can be changed from version to version).
Please, follow the steps below to install Advent Pro Theme.
Step 1 - Login to your WordPress Dashboard.
Step 2 - Go to Appearance > Themes. Click Add new button, located at the top of the screen or Add new theme ( see screenshots below ).
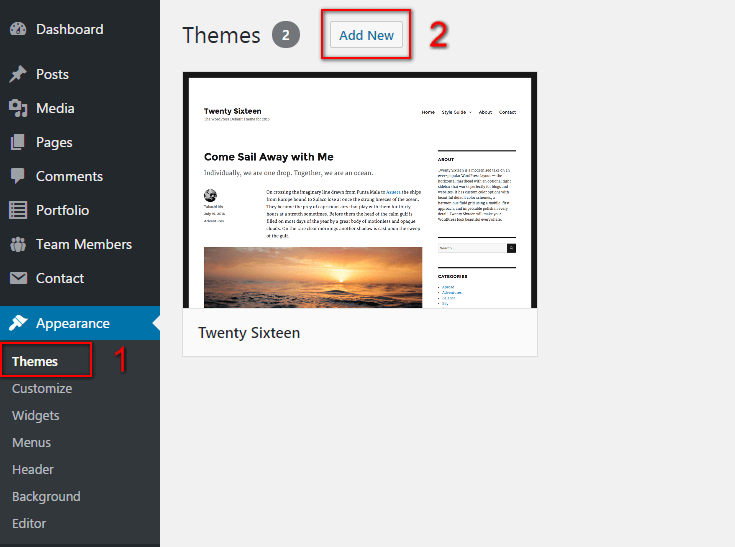

Step 4 - Choose adventpro.zip.
Step 5 - Wait while the theme is uploaded and installed , when done Activate the Advent Pro theme. (see screenshots below )
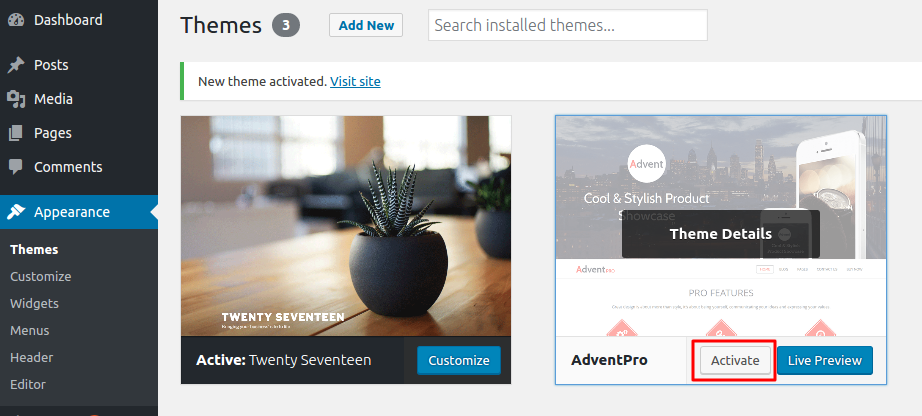
Step 6 - Congratulation you are ready to use Advent Pro, but first Activate your license key.
Common Theme Installation Problems
“Are you sure you want to do this?”
If you get the “Are you sure you want to do this” message when installing adventpro.zip file via WordPress, it means you have an upload file size limit. Install the theme via FTP if this happens, or ask your hosting company to increase the limit.
Missing stylesheet file
If you get an error saying that the stylesheet is missing, then you have uploaded the wrong folder. Please check that you are uploading the adventpro.zip within the Theme Files folder.
Theme Installation via FTP
If you are going to install the theme using FTP, you will need an FTP Client, such as FileZilla.
After the purchase you will be able to download the theme .zip file.
When done, you should see adventpro.zip(folder name can be changed from version to version).
Please, follow the steps below to install Advent Pro theme via FTP:
Step 1 - Log into your hosting space (server) via FTP client.
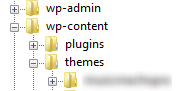
Step 2 - In extracted archive folder, find adventpro folder
Step 3 - Upload the adventpro folder to your server in path .../wp-content/themes/
Step 4 - The uploaded path should be like this: .../wp-content/themes/adventpro/
Step 6 - Congratulation you are ready to use Advent Pro, but first Activate your license key.
Additional Links
Theme License Activation
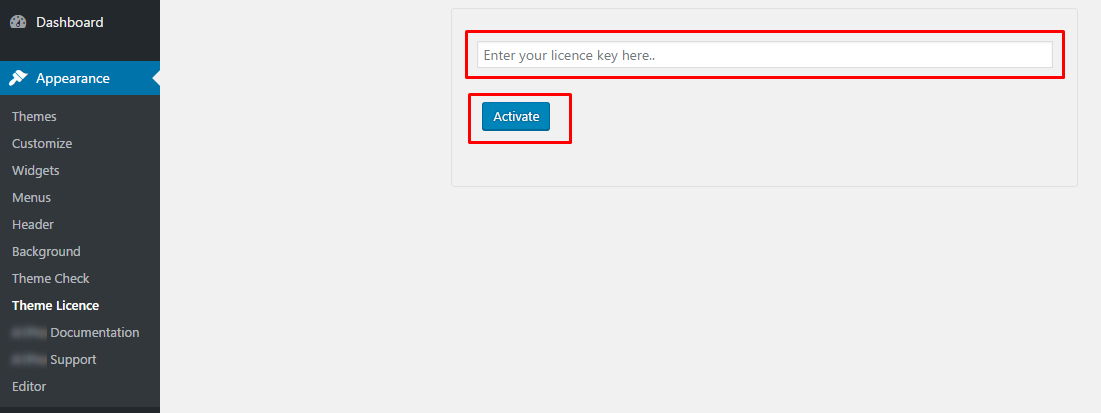
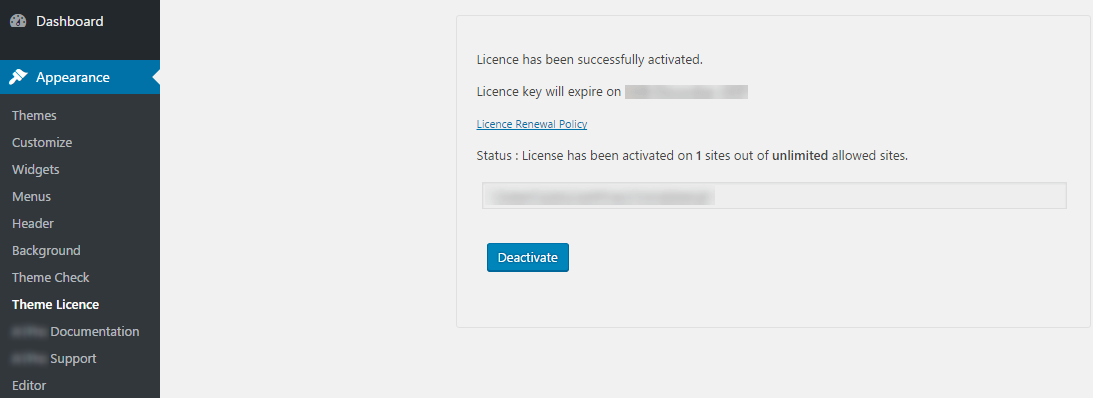
After installing the theme the first step to take will be activating the theme license. Enter the license key and you'll get access to theme support.
Follow the below instruction to activate the theme license.
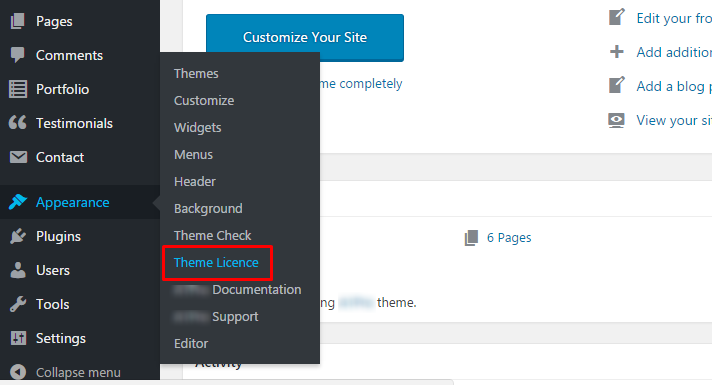
Step 1 - Go to your WordPress Dashboard > Appearance > Theme License.
Step 3 - The final step is to click on Save Changes.
Plugins Installation
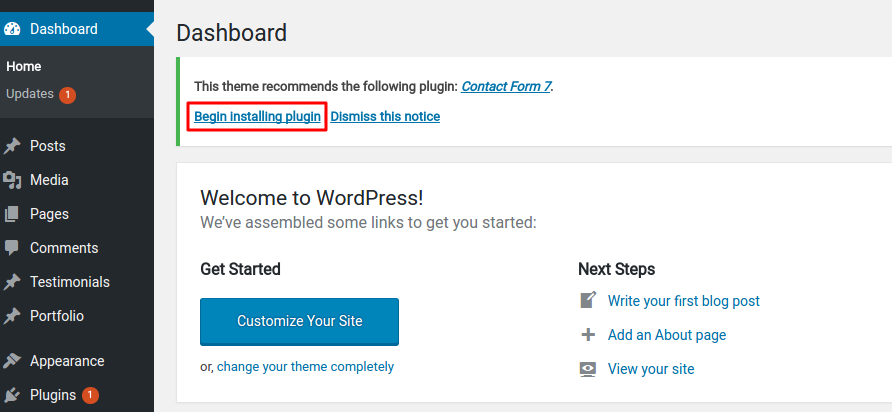
After activating the theme and the license a notice should appear on the top of the screen, click on Begin installing plugins.
Follow the below instruction to activate all the necessary plugins.
Step 1 - Got to your WordPress Dashboard and click on Begin installing plugins.
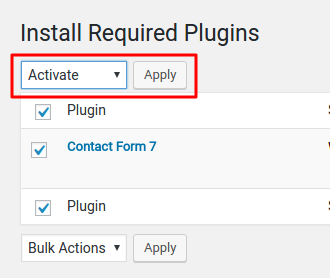
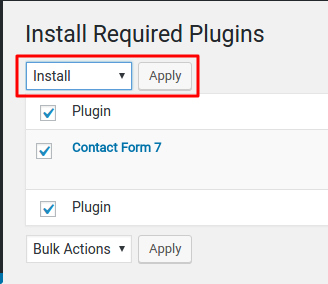 Step 3 - Once the plugins are installed go back to Install required plugins and Activate them all.
Setting up the Demo Content
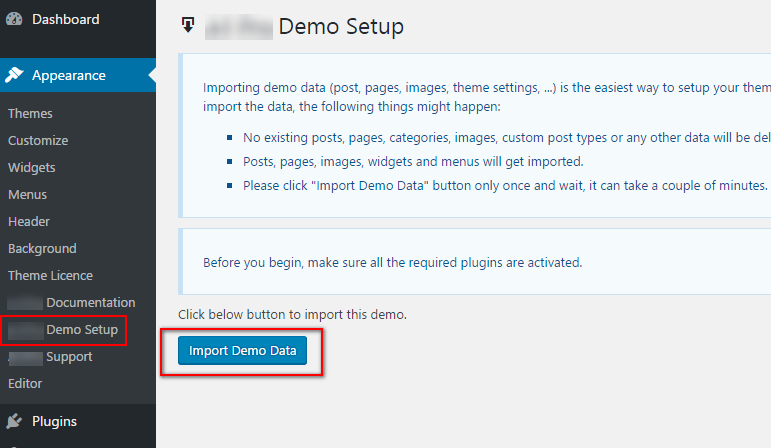
Before importing the dummy data Make sure you have installed all the plugins and set the permalinks.
Once the theme will be activated you will see the option for importing demo.
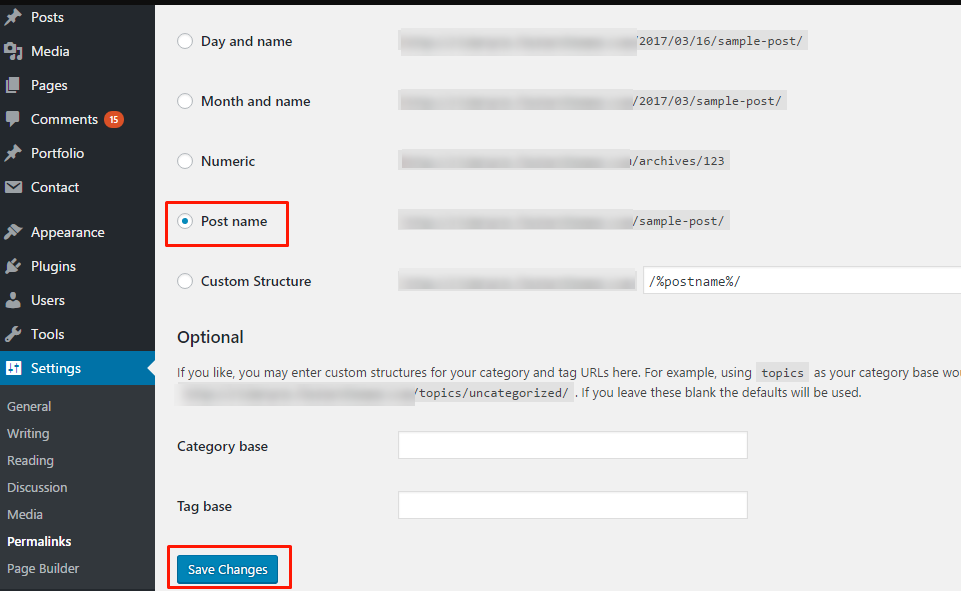
Set Permalinks
Step 1 - Log into your WordPress Dashboard.
Step 2 - Go to Settings > Permalinks select Post name & click on save changes.

One Click Importer
Step 1 - Go to Appearance > Advent Pro Demo Setup
Step 2 - click on Import Demo Data.
Step 3 - Done! Menu and Home Page will be automatically set.
Menu Setup
Create & Manage your menu
First we will see how to create your menu
Adding pages to your menu
How to add page to our new menu
Assigning a Menu to a Location
Select where to show our menu
Create & Manage your menu
Step 1 - Login to the WordPress Dashboard.
Step 2 - From the 'Appearance' menu on the left-hand side of the Dashboard, select the 'Menus' option to bring up the Menu Editor.
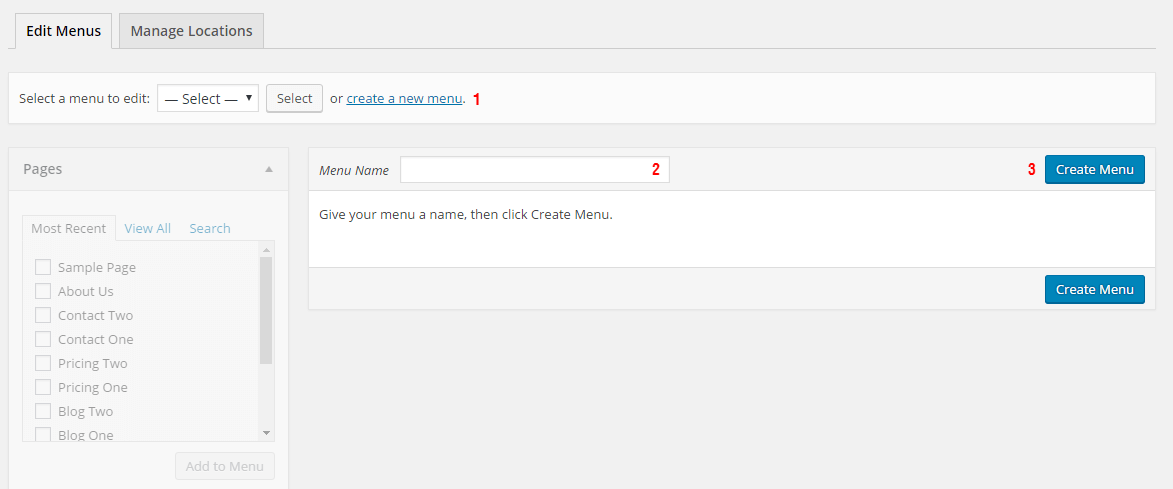
Step 3 - Select Create a new menu at the top of the page.
Step 4 - Enter a name for your new menu in the Menu Name box.
Step 5 - Click the Create Menu button.
Your menu is now defined, and you can now add pages to it (steps below).
Adding pages to your menu
The Screen Options allow you to choose which items you can use to add to a menu. Certain items, like Posts are hidden by default. The Screen Options are located in the top right corner of your WordPress Dashboard.
Step 1 - Locate the pane entitled Pages.
Step 2 - Within this pane, select the View All link to bring up a list of all the currently published Pages on your site.
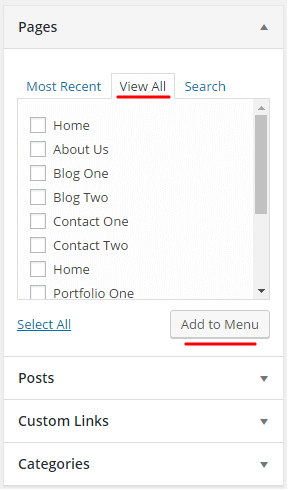
Step 3 - Select the Pages that you want to add by clicking the checkbox next to each Page's title.
Step 4 - Click the Add to Menu button located at the bottom of this pane to add your selection(s) to the menu that you created in the previous step.
Step 5 - Click the Save Menu button once you've added all the menu items you want.
Your custom menu has now been saved.
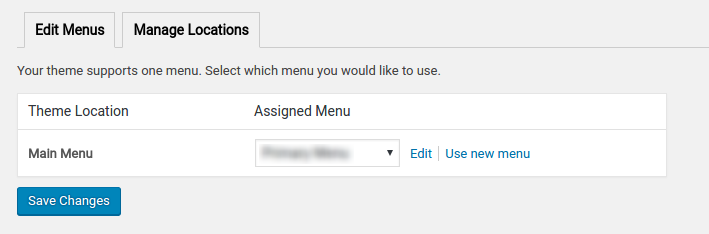
Assigning a Menu to a Location
Once you've created a menu and filled it with items, it's time to assign it to one of the theme pre-defined locations.
Step 1 - Go to Appearance > Menus and click Manage Locations.
Step 2 - Assign each Theme Location with a menu. You can assign menus to multiple Theme Locations.
Step 3 - Click the Save Changes button.
Theme Options
Go to Appearance > Theme Options and you'll find below options where, you can make the changes as per your requirements.
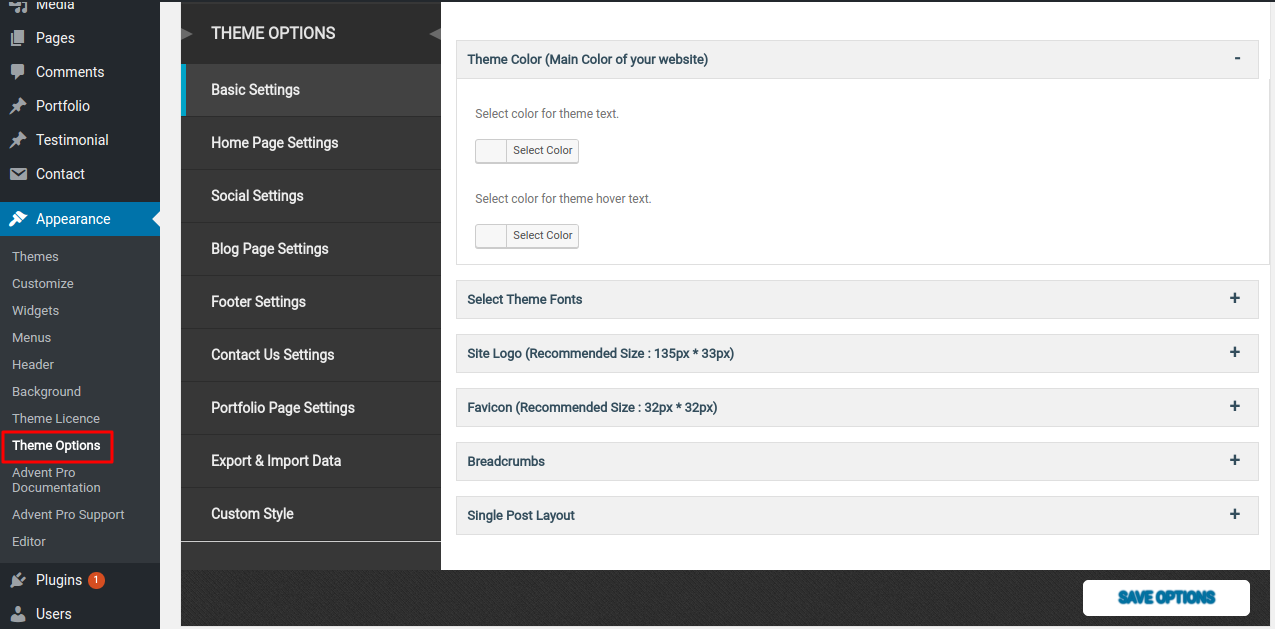
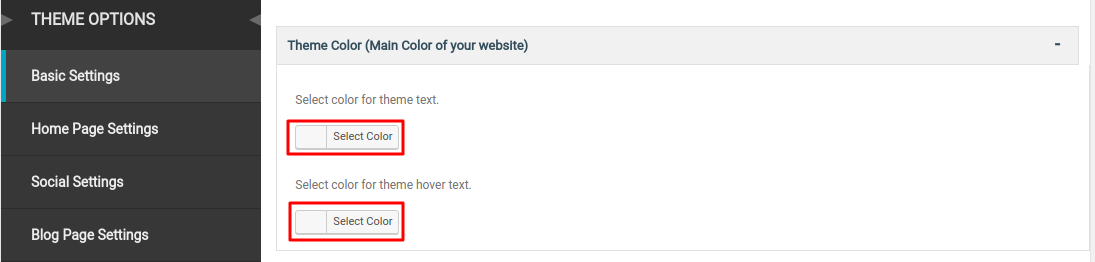
1. Theme Colors
Under theme color, you can change your theme text color and text hover color.
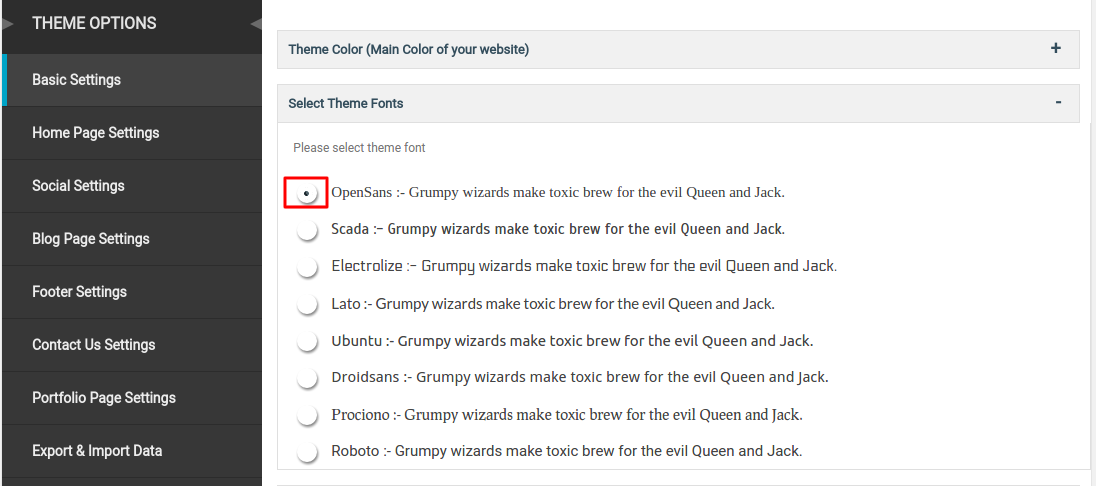
2. Theme Fonts
Under theme fonts, you can change your theme fonts.
3. Site Logo
In this section, you can change logo.

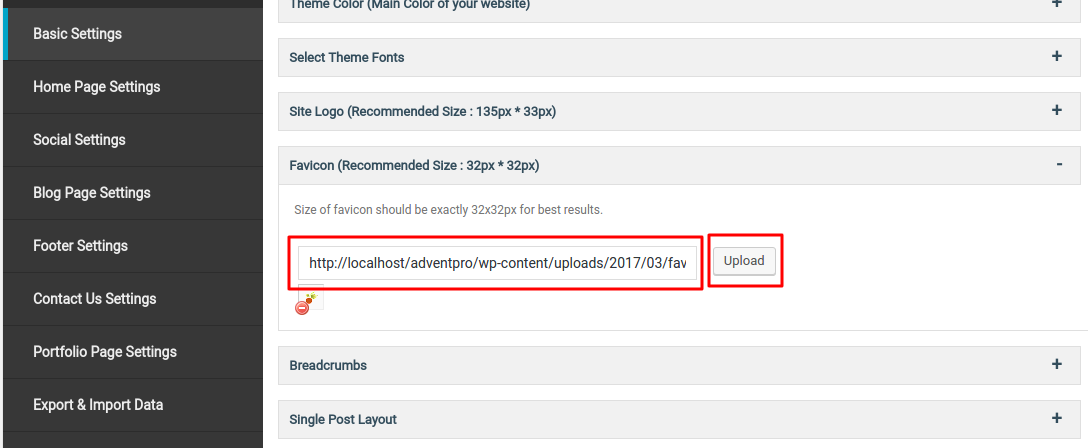
4. Favicon
In this section, you can change favicon.
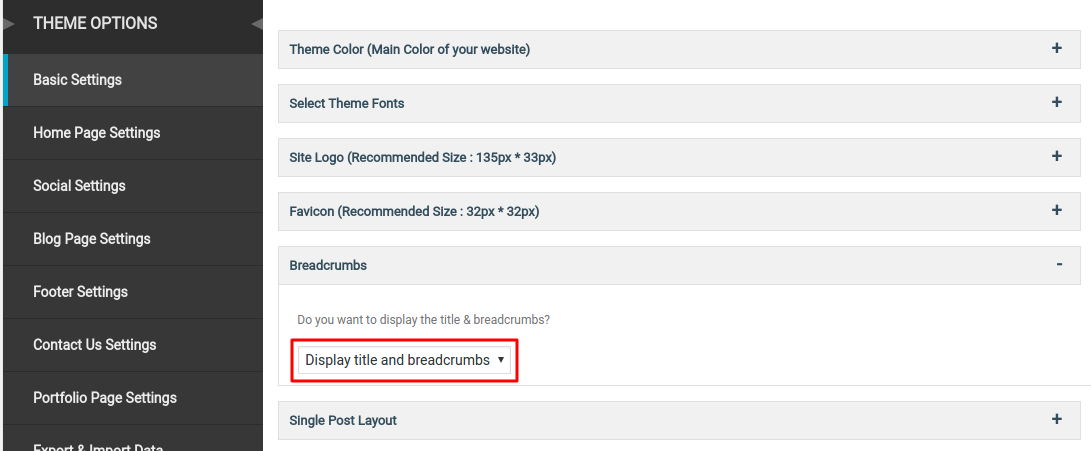
5. Breadcrumbs
Under breadcrumbs, you can manage your breadcrumbs and page title.
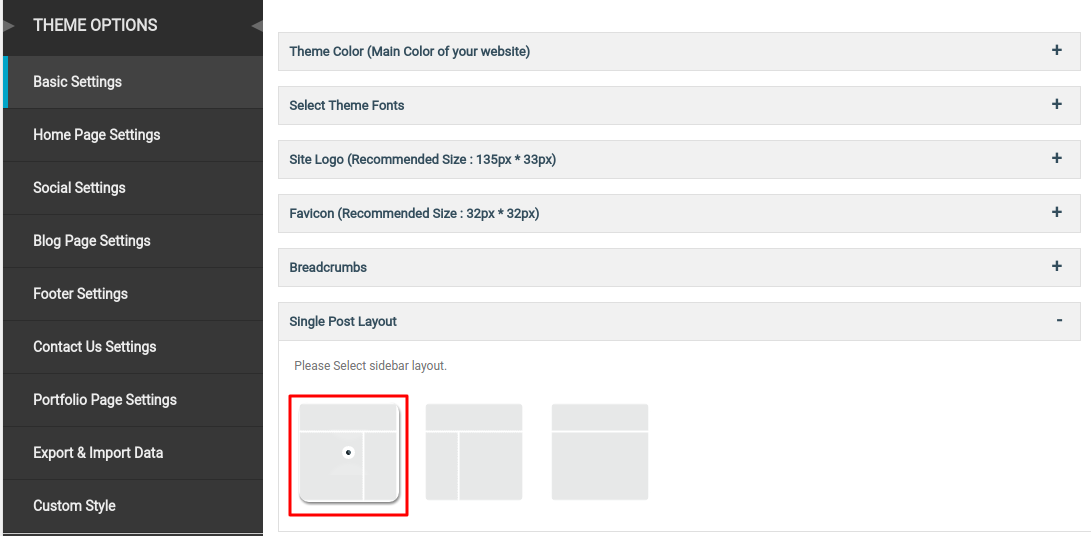
6. Single Post Layout
In single post layout section, you can change post layout.
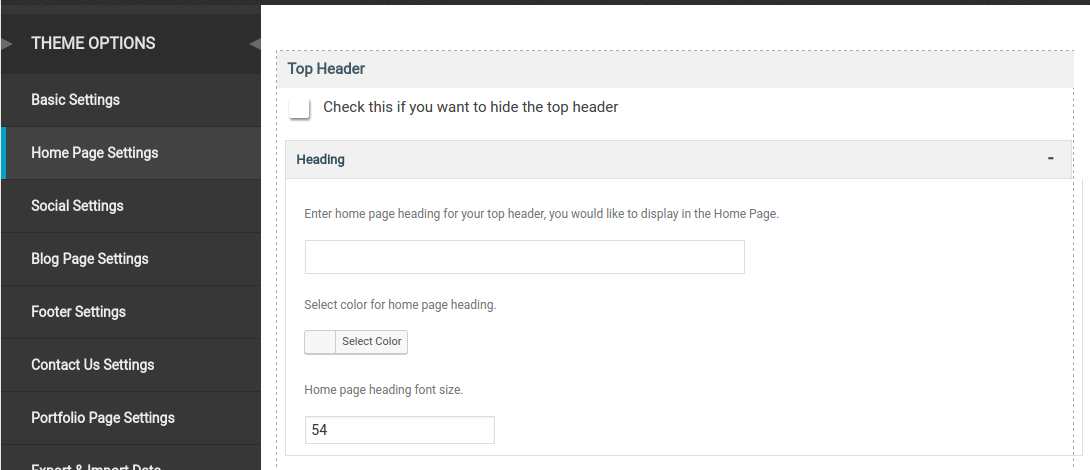
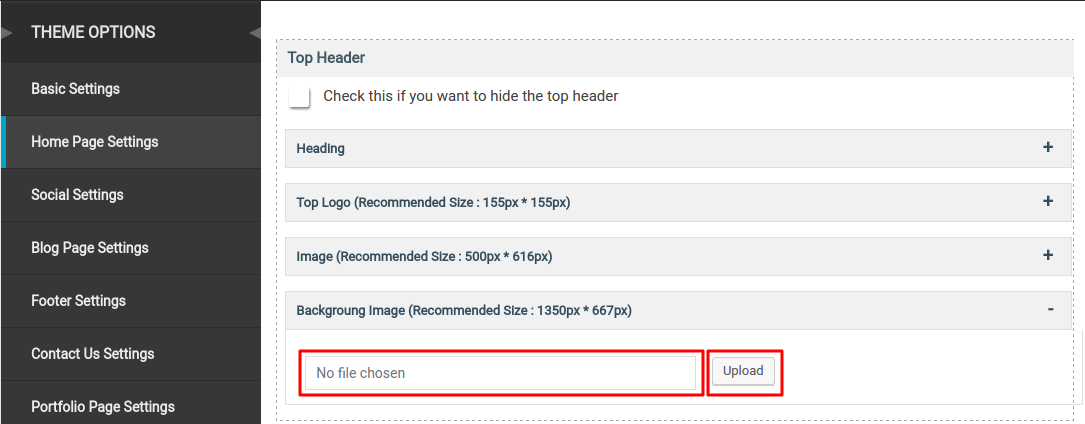
7. Top Header
In top header section, you can change your home page heading, color and size of heading and also show & hide the it using checkbox.
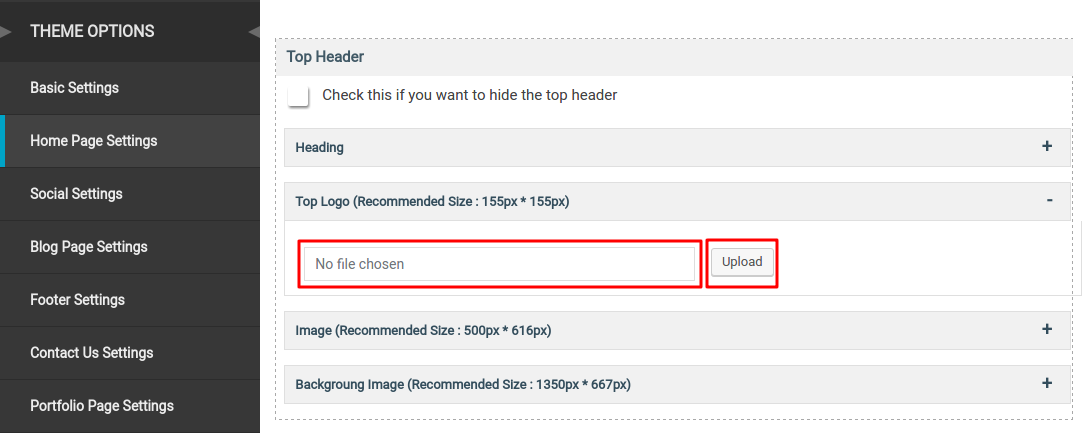
8. Top Logo
In this section, you can change top logo.
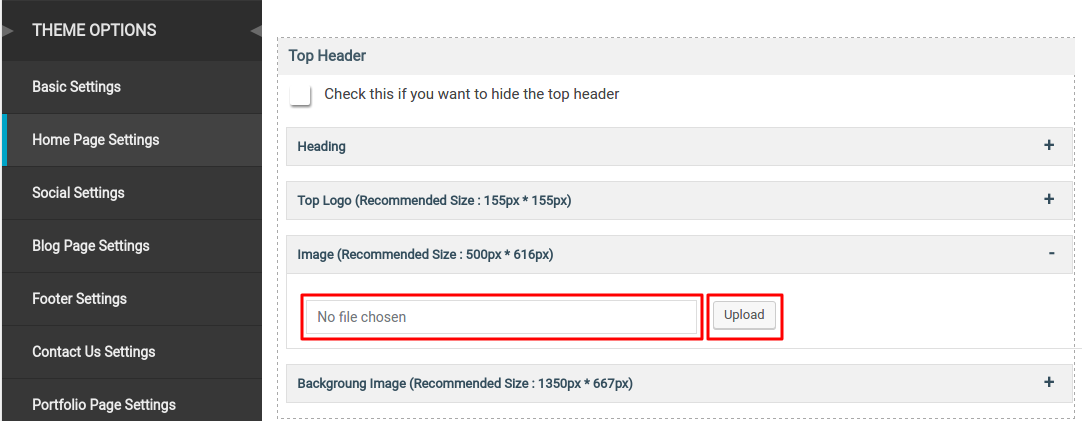
9. Image
In this section, you can change header image.
10. Background Image
In this section, you can change header background image.
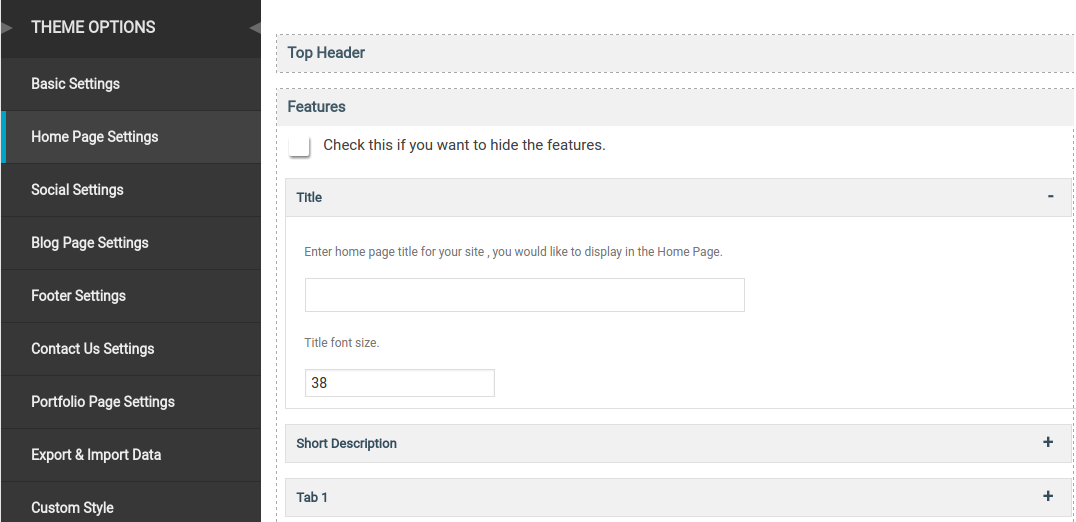
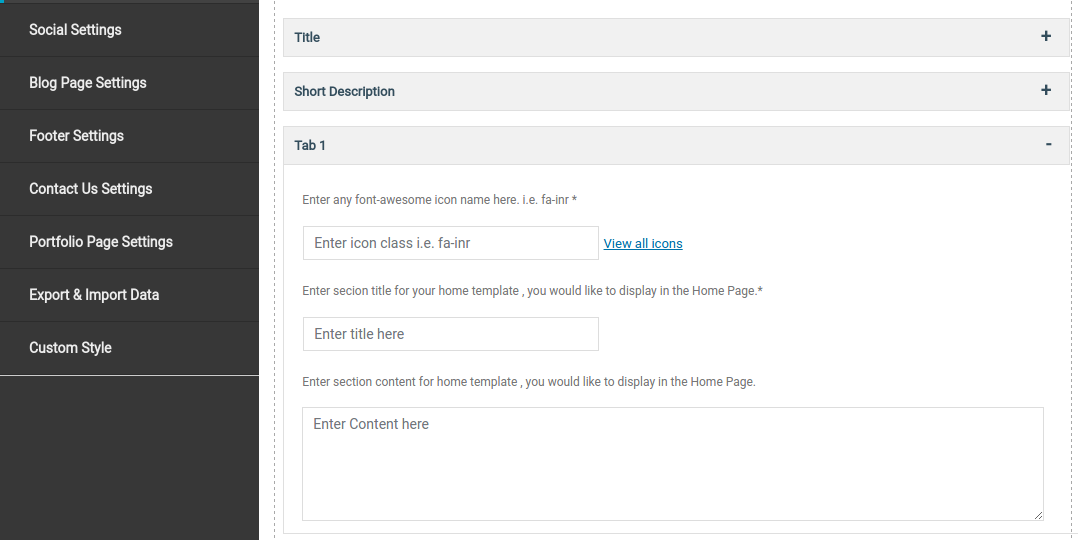
11. Features
In this section, you can change features title, font size, short description and tabs of features.
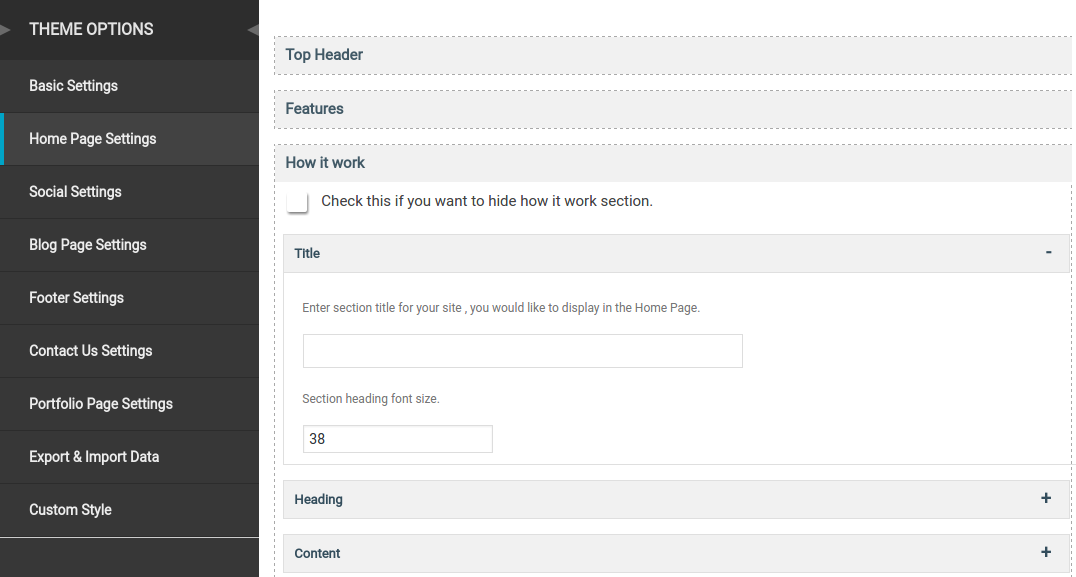
12. How It Works
In this section, you can change your work title, heading, content, image and you can also hide it using checkbox.
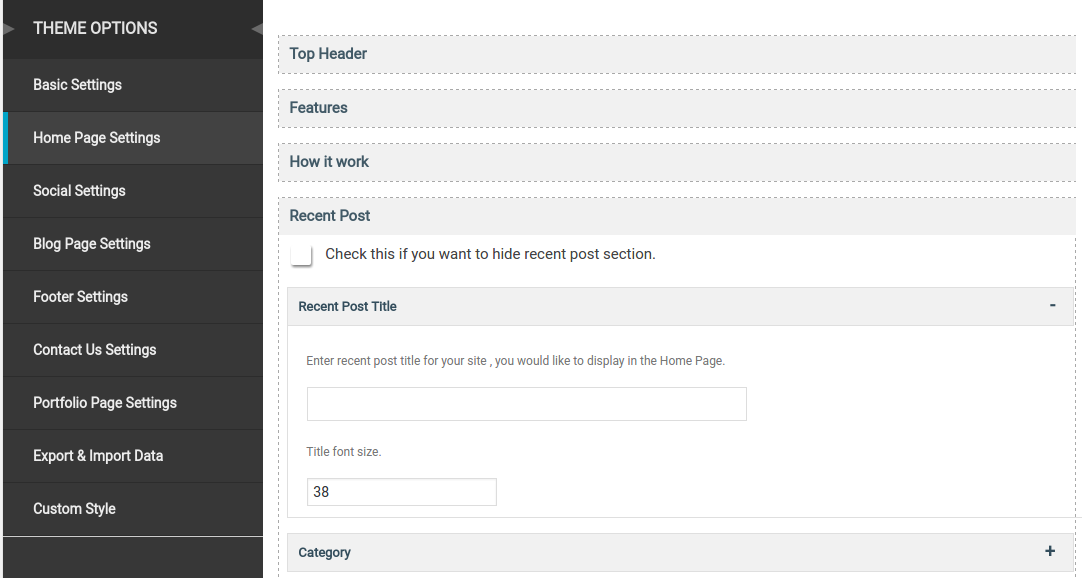
13. Recent Post
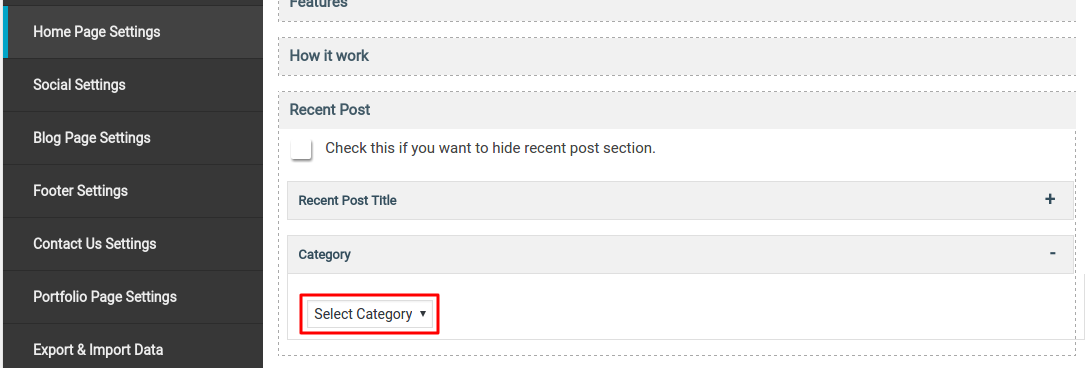
In this section, you can display your post title and change the font size of posts and also you can select the post category.
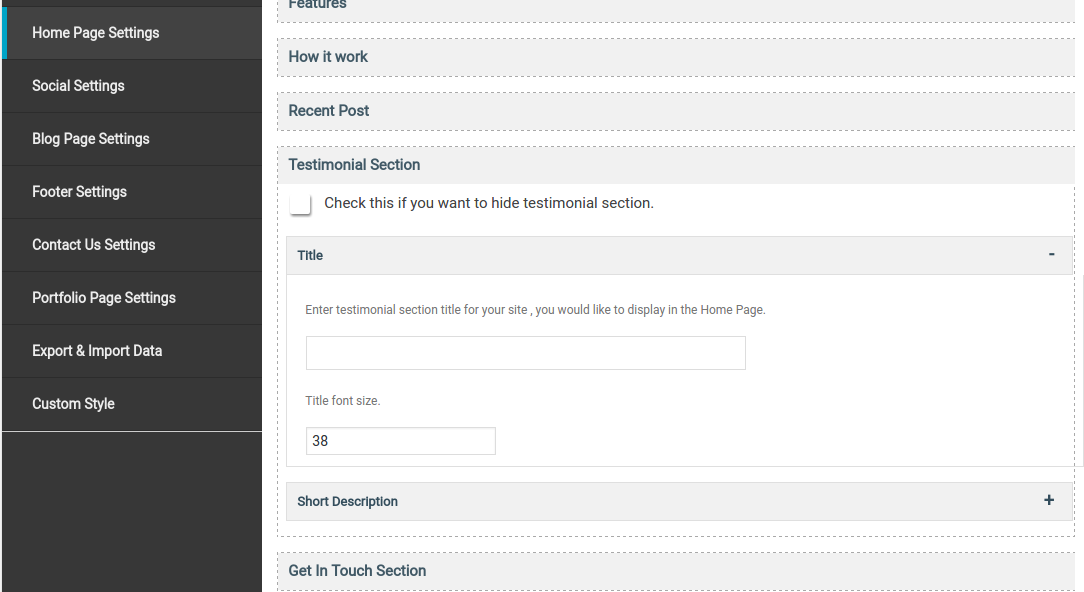
14. Testimonial Section
In this section, you can change testimonial title, description and also you can hide it.
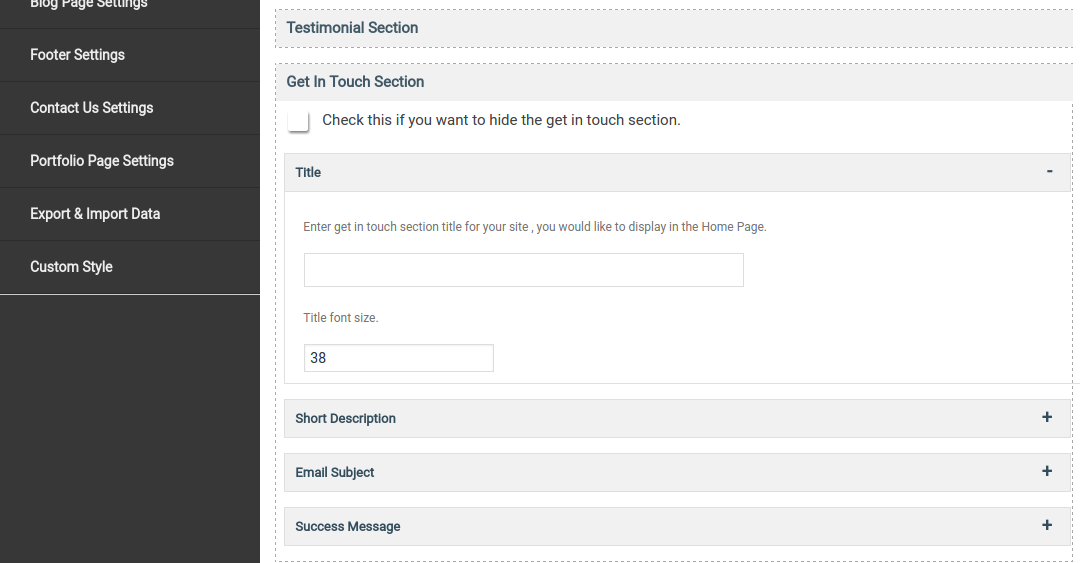
15. Get In Touch Section
In this section, you can change your title, short description, email subject and success message and also you can hide it.
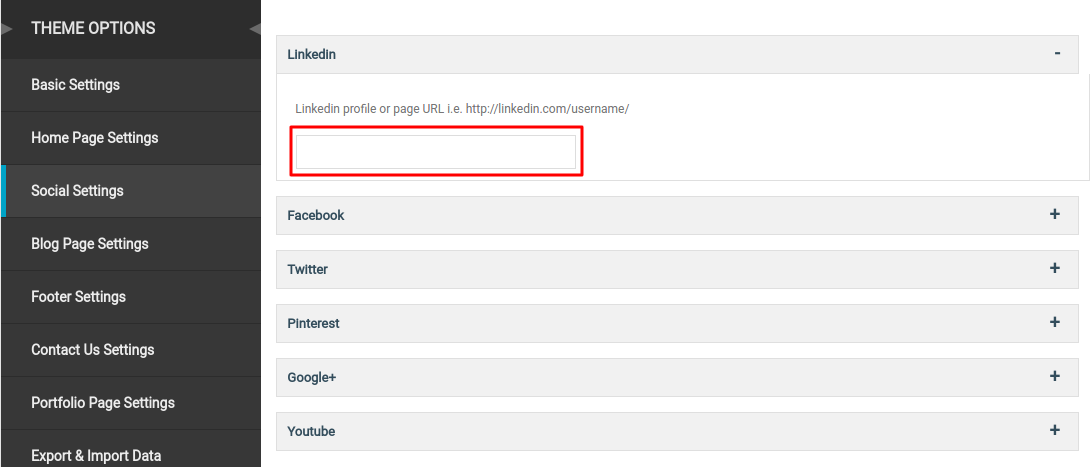
16. Social Settings
In social settings, you can manage your social links.
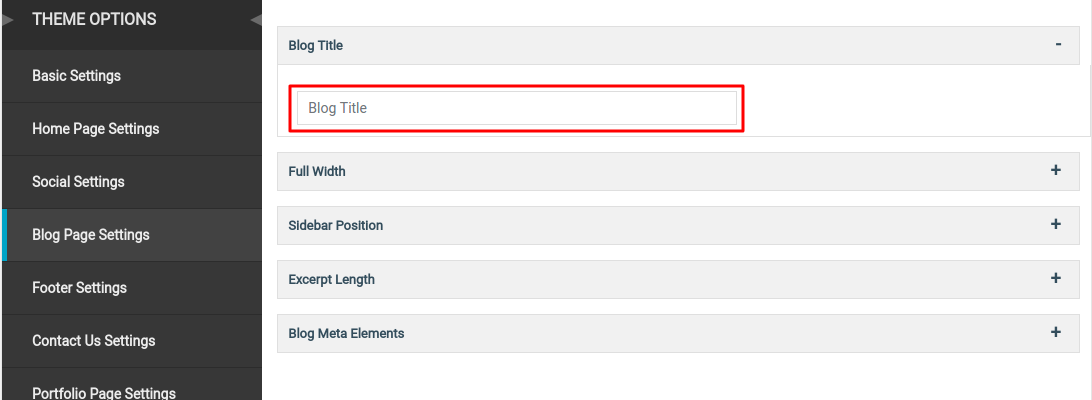
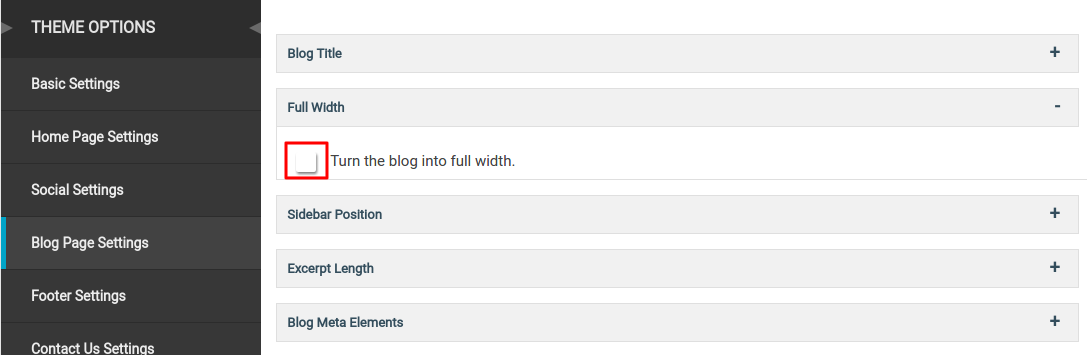
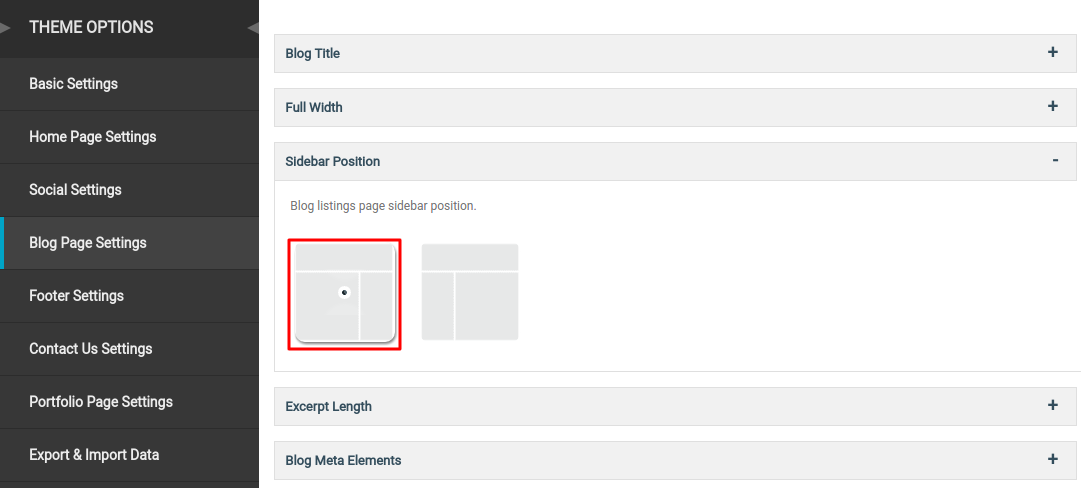
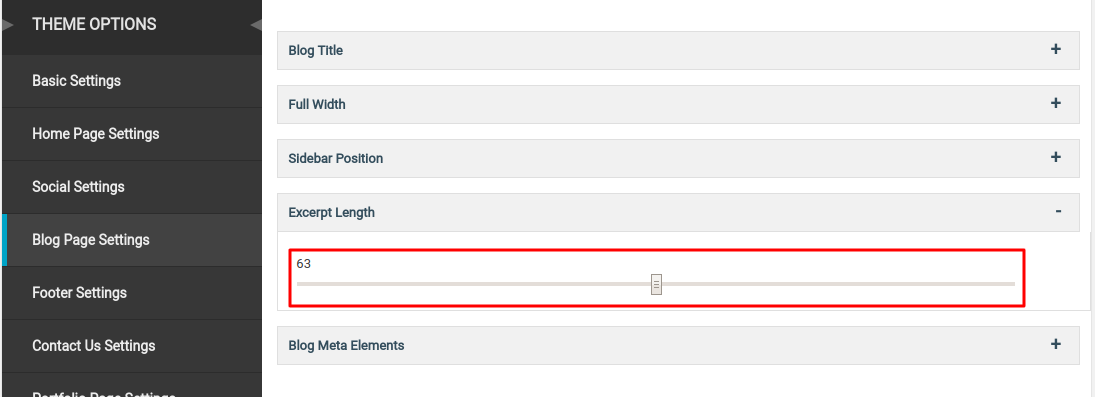
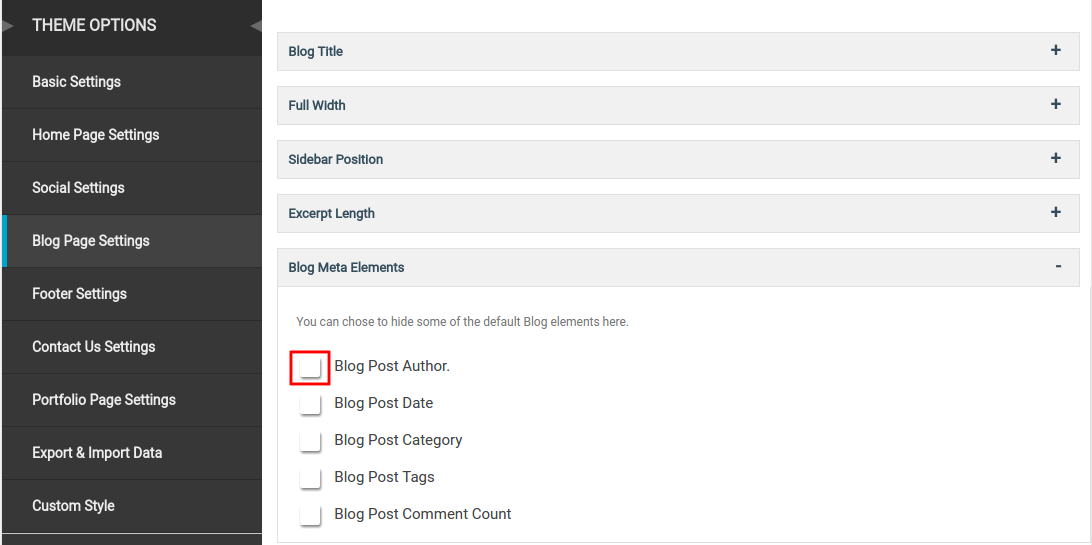
17. Blog Page Settings
In blog page settings, you can manage your blog page settings such as title, full width, sidebar portion, excerpt length and blog meta elements.
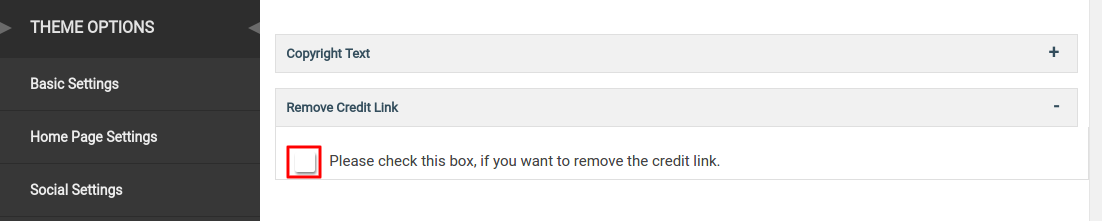
18. Footer Settings
In footer settings, you can change your copyright text and remove the credit links.

19. Contact Us Settings
Under contact us settings, you can manage your contact details such as title, contact info, phone, fax, email, web and address.

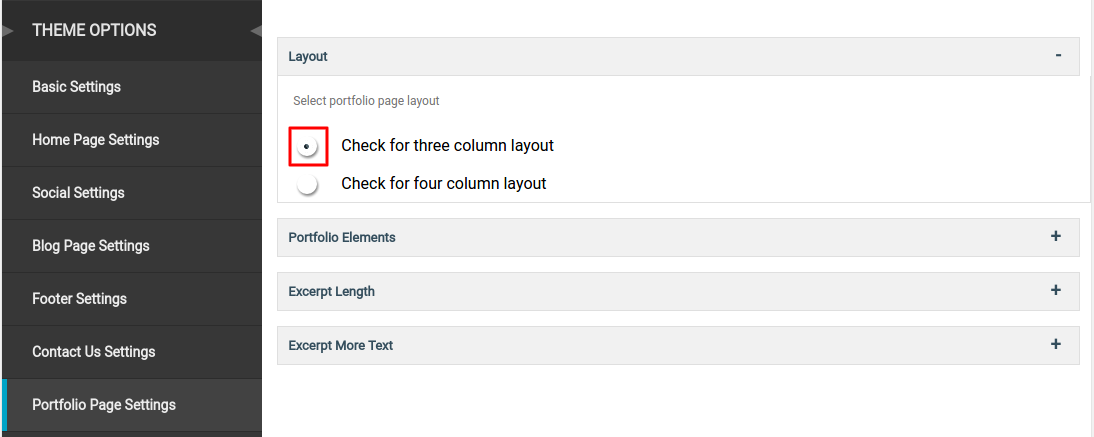
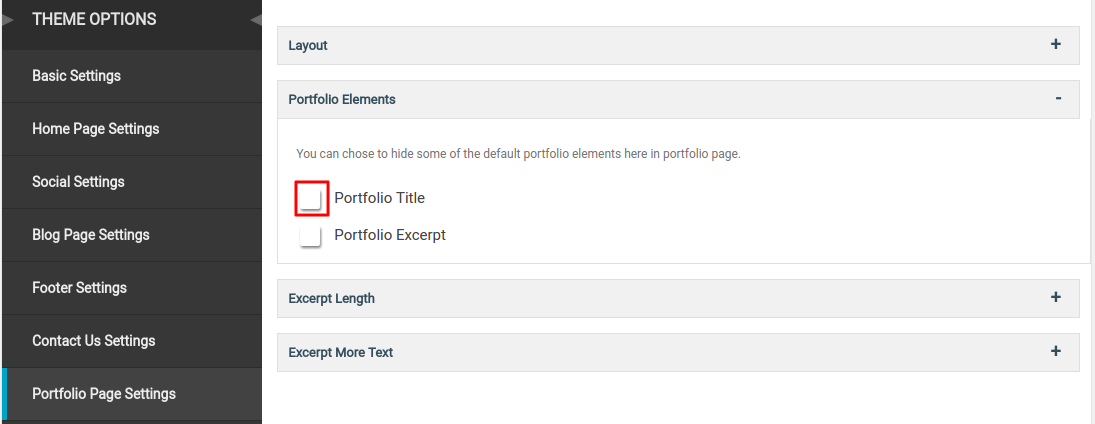
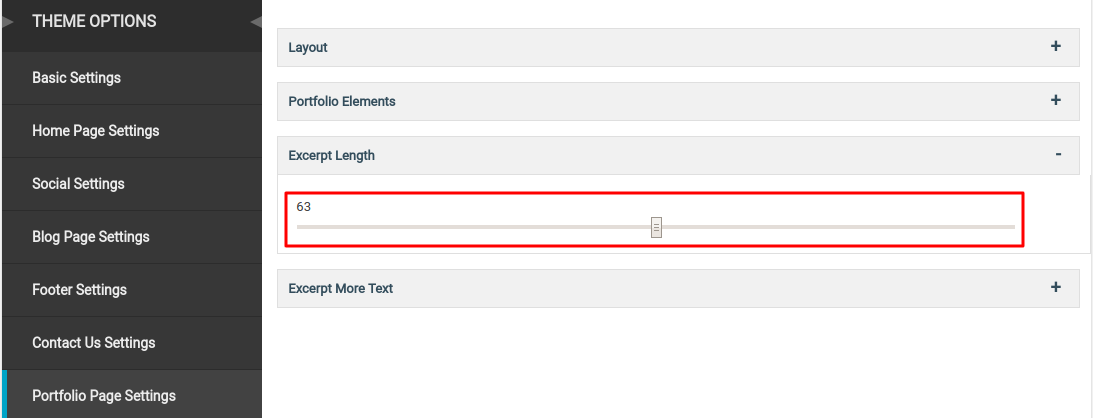
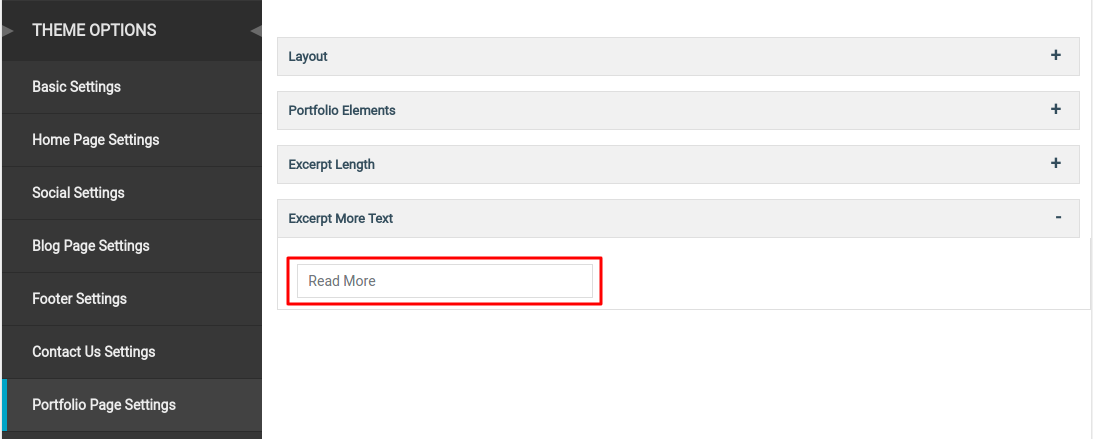
20. Portfolio Page Settings
Under portfolio page settings you can change the layout, elements, excerpt length, and excerpt more text.
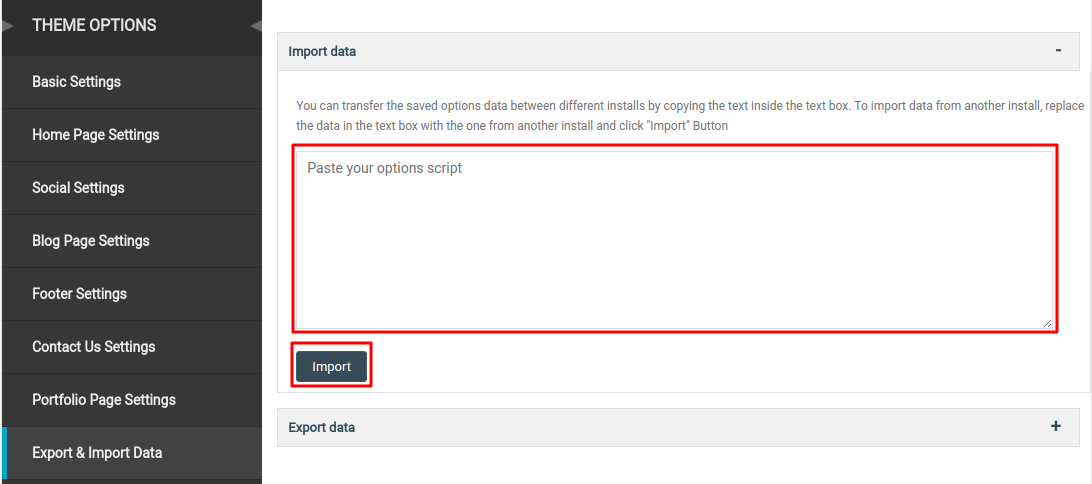
21. Export & Import Data
In this section, you can write your script and import/export it anywhere.